Setup
These are the two important credentials you need from WestPay, which should be different for the test and live site:
• Entity ID
• Access Token
It is always best practice when setting up a payment gateway to do this in test mode first and run several orders before switching to live mode.
Step 1 – Plugin settings.
Install the plugin & activate the license key; once this is done, you want to navigate to the plugin settings page; which can be found in the WooCommerce settings:
The key items here for the setup are in the red box.
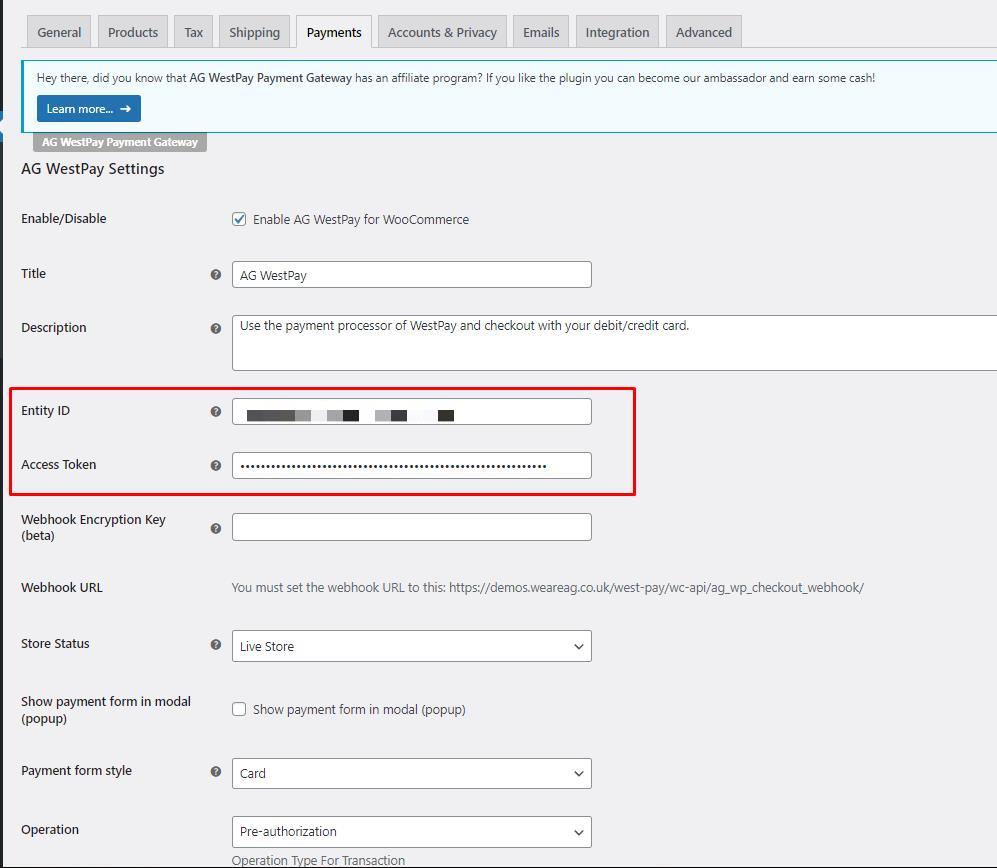
These settings will need to be matched with what you will be provided by the WestPay team.
Step 2 – Test, Test & test.
Well done, you have now finished the setup of the plugin! Now, the important thing to do is test the payment gateway a few times before going live.
To detect any errors for the tests, you first want to enable the plugin’s debug log in the settings.
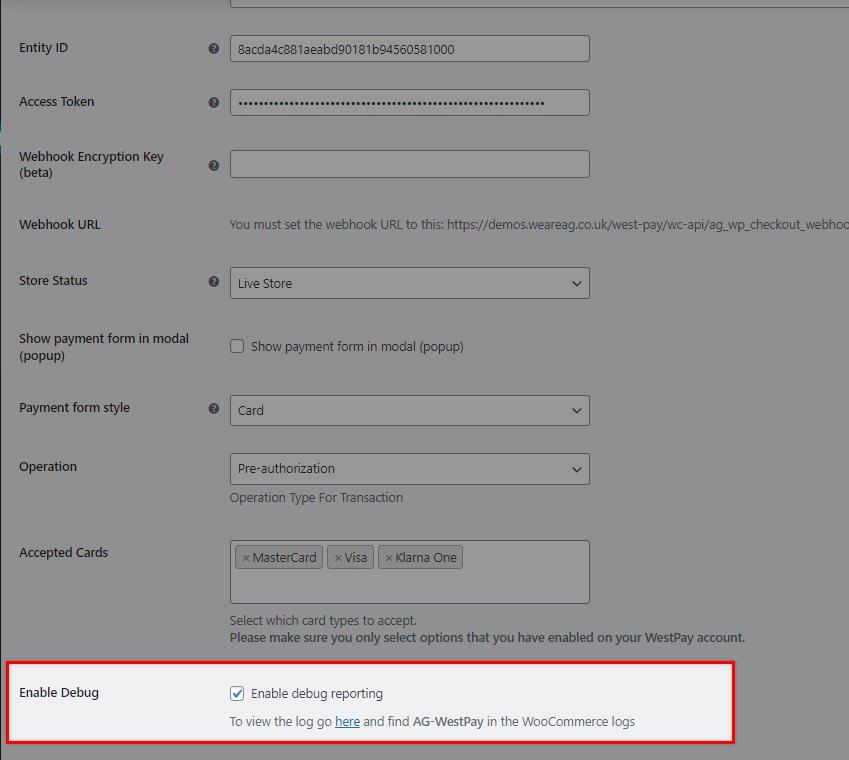
Run some test transactions, and if the plugin finds something wrong with the plugin setup, it will log this and tell you how to fix this; you can find the log by going here:
If you still face issues, then send a support ticket, and we will have a look for you. Please be ready to send screenshots of the plugin & AG WestPay Settings settings and the debug log.
Was this helpful?

Westpay
Still need help?
Our team are on hand to provide fast, helpful and professional support.