How to Set Up Apple Pay with Opayo
Apple Pay allows your customers to pay quickly and securely using their Apple devices.
Important notes before you begin:
- Apple Pay is only supported with the Opayo Pi integration. It will not work with Opayo Server, Form or Direct.
- You must add the store domain to Opayo (e.g., yourstore.com).
- If the wrong domain is added, Apple Pay will fail at checkout.
- You must add the Apple Pay domain verification file to your server, the file can be found here.
To enable Apple Pay in your Opayo account, follow the steps below.
Step 1 – Log in to MyOpayo
- Go to MyOpayo and log in with your account credentials.
Live MyOpayo: https://live.opayo.eu/
Test MyOpayo: https://test.opayo.eu/ - From the left-hand menu, select Pay Methods.
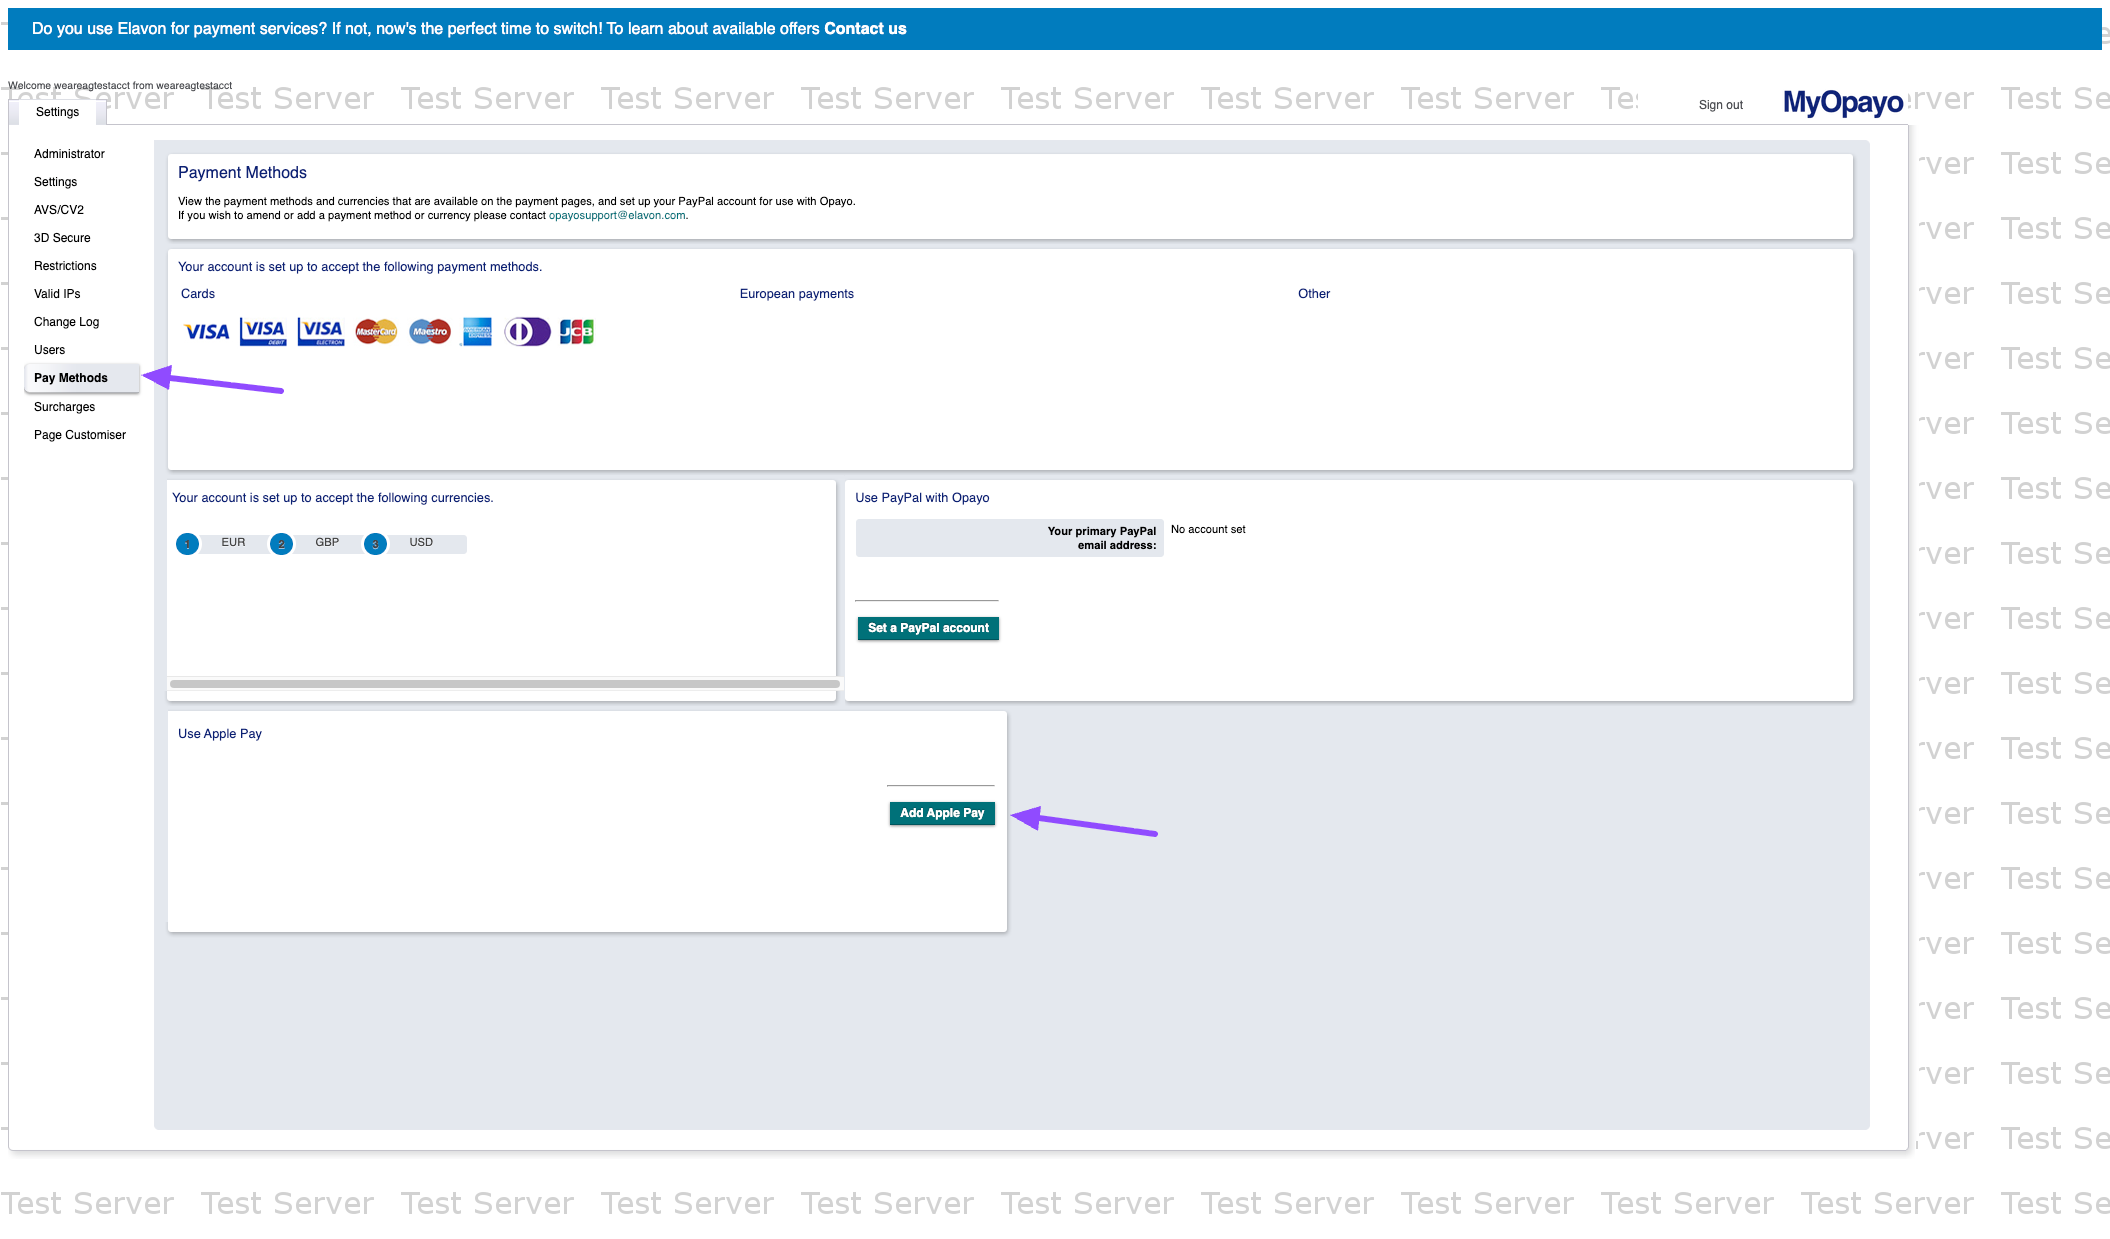
Step 2 – Add Apple Pay
- Scroll down to the Use Apple Pay section.
- Click Add Apple Pay.
Step 3 – Accept Apple Pay Terms
- A popup will appear with Apple Pay’s Terms and Conditions.
- Click Accept Apple Pay T&Cs.

Step 4 – Choose Certificate Management
You will be asked how you want to manage Apple Pay certificates:
- Opayo manages your certificate (recommended) – the easiest option, Opayo handles all the technical certificate setup.
- You manage your certificate – for advanced users only.
Select Opayo manages your certificate.

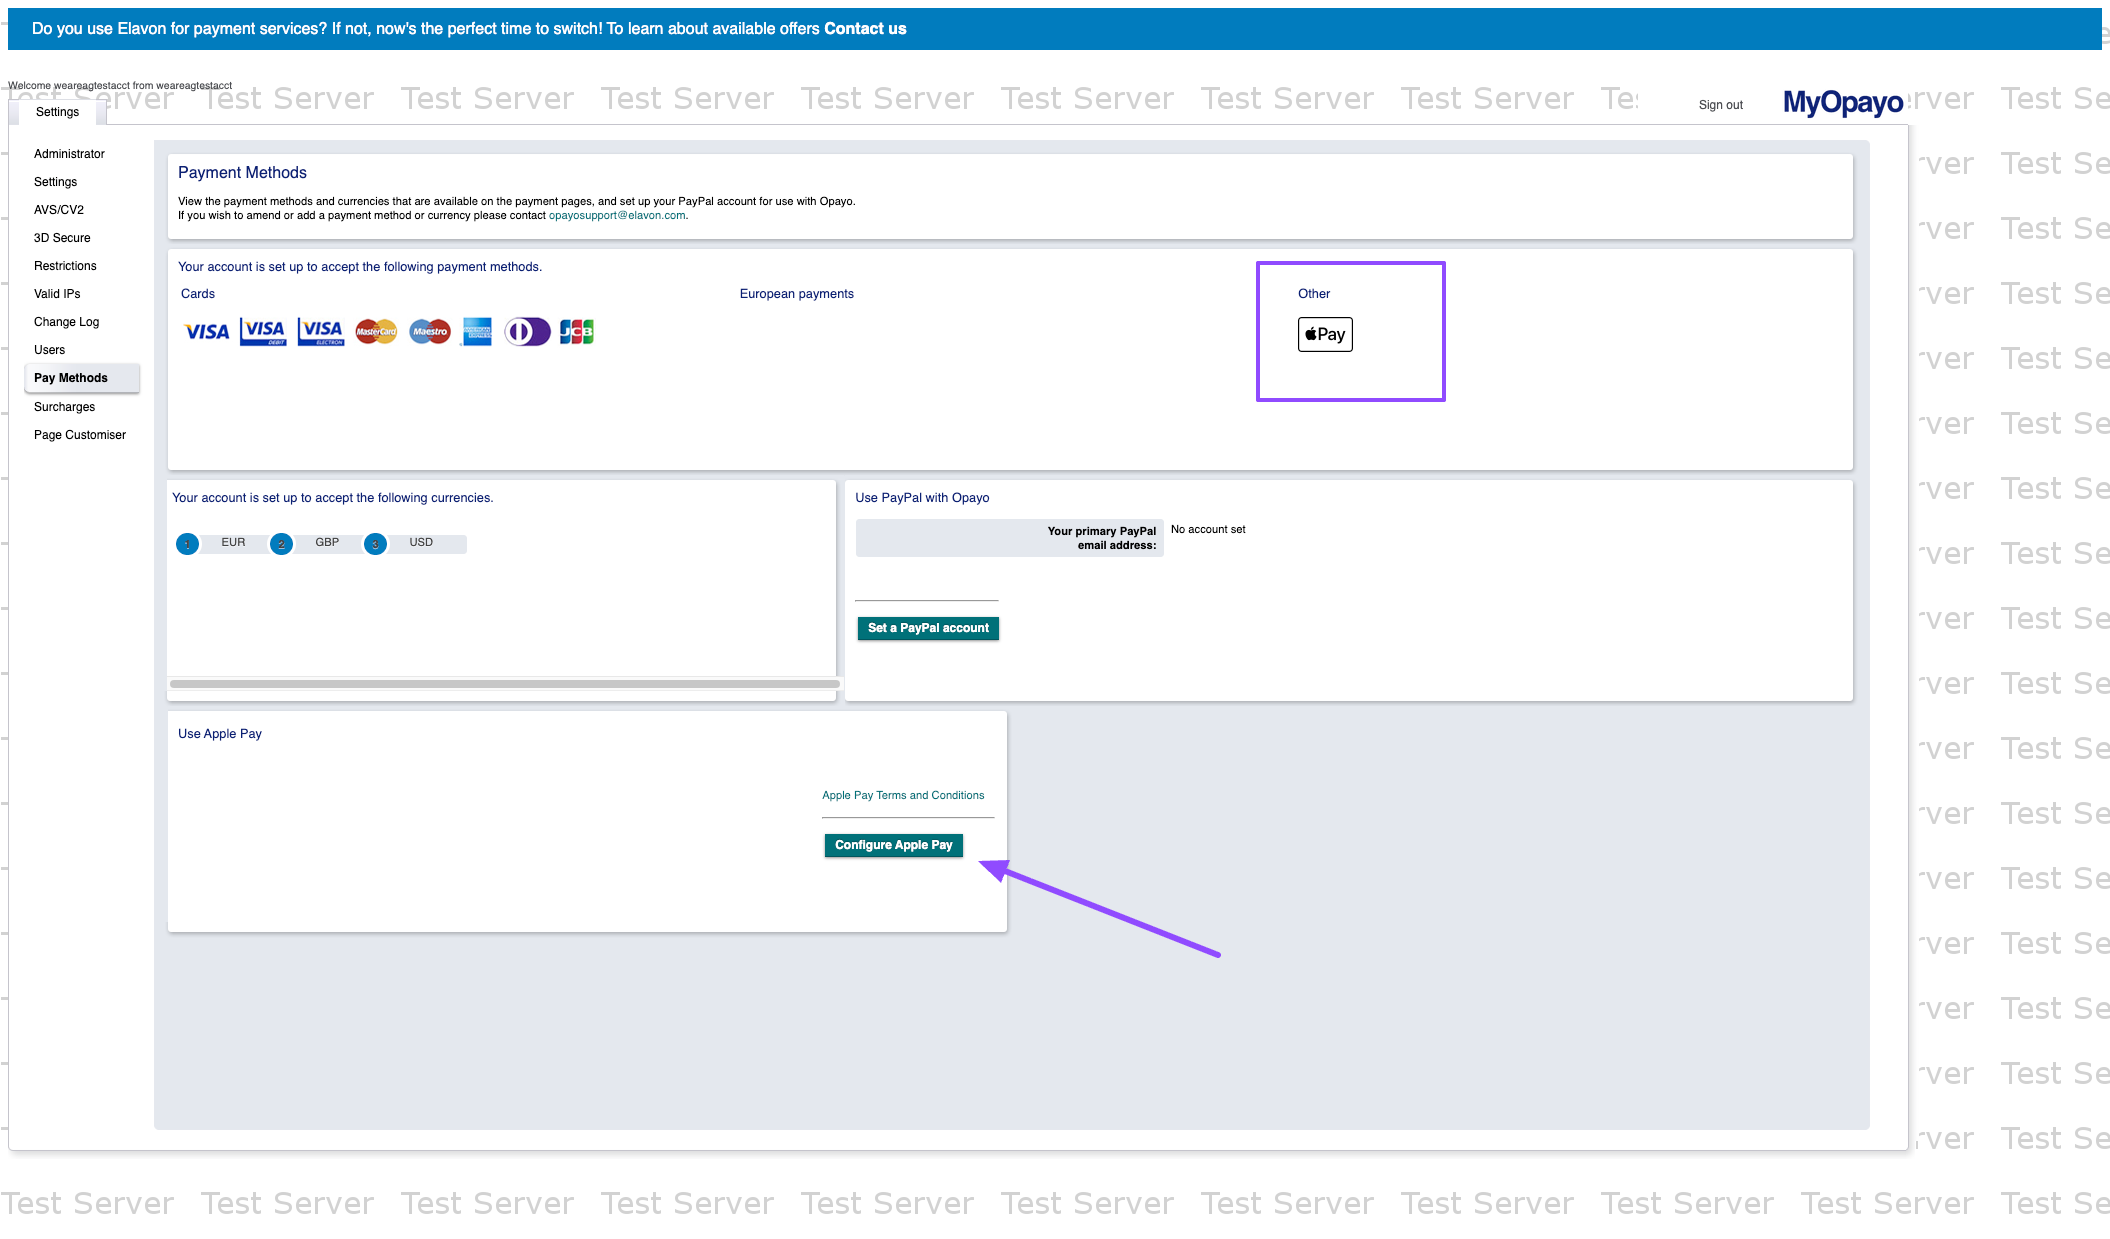
Step 5 – Configure Apple Pay
- Back in the Pay Methods screen, click Configure Apple Pay.
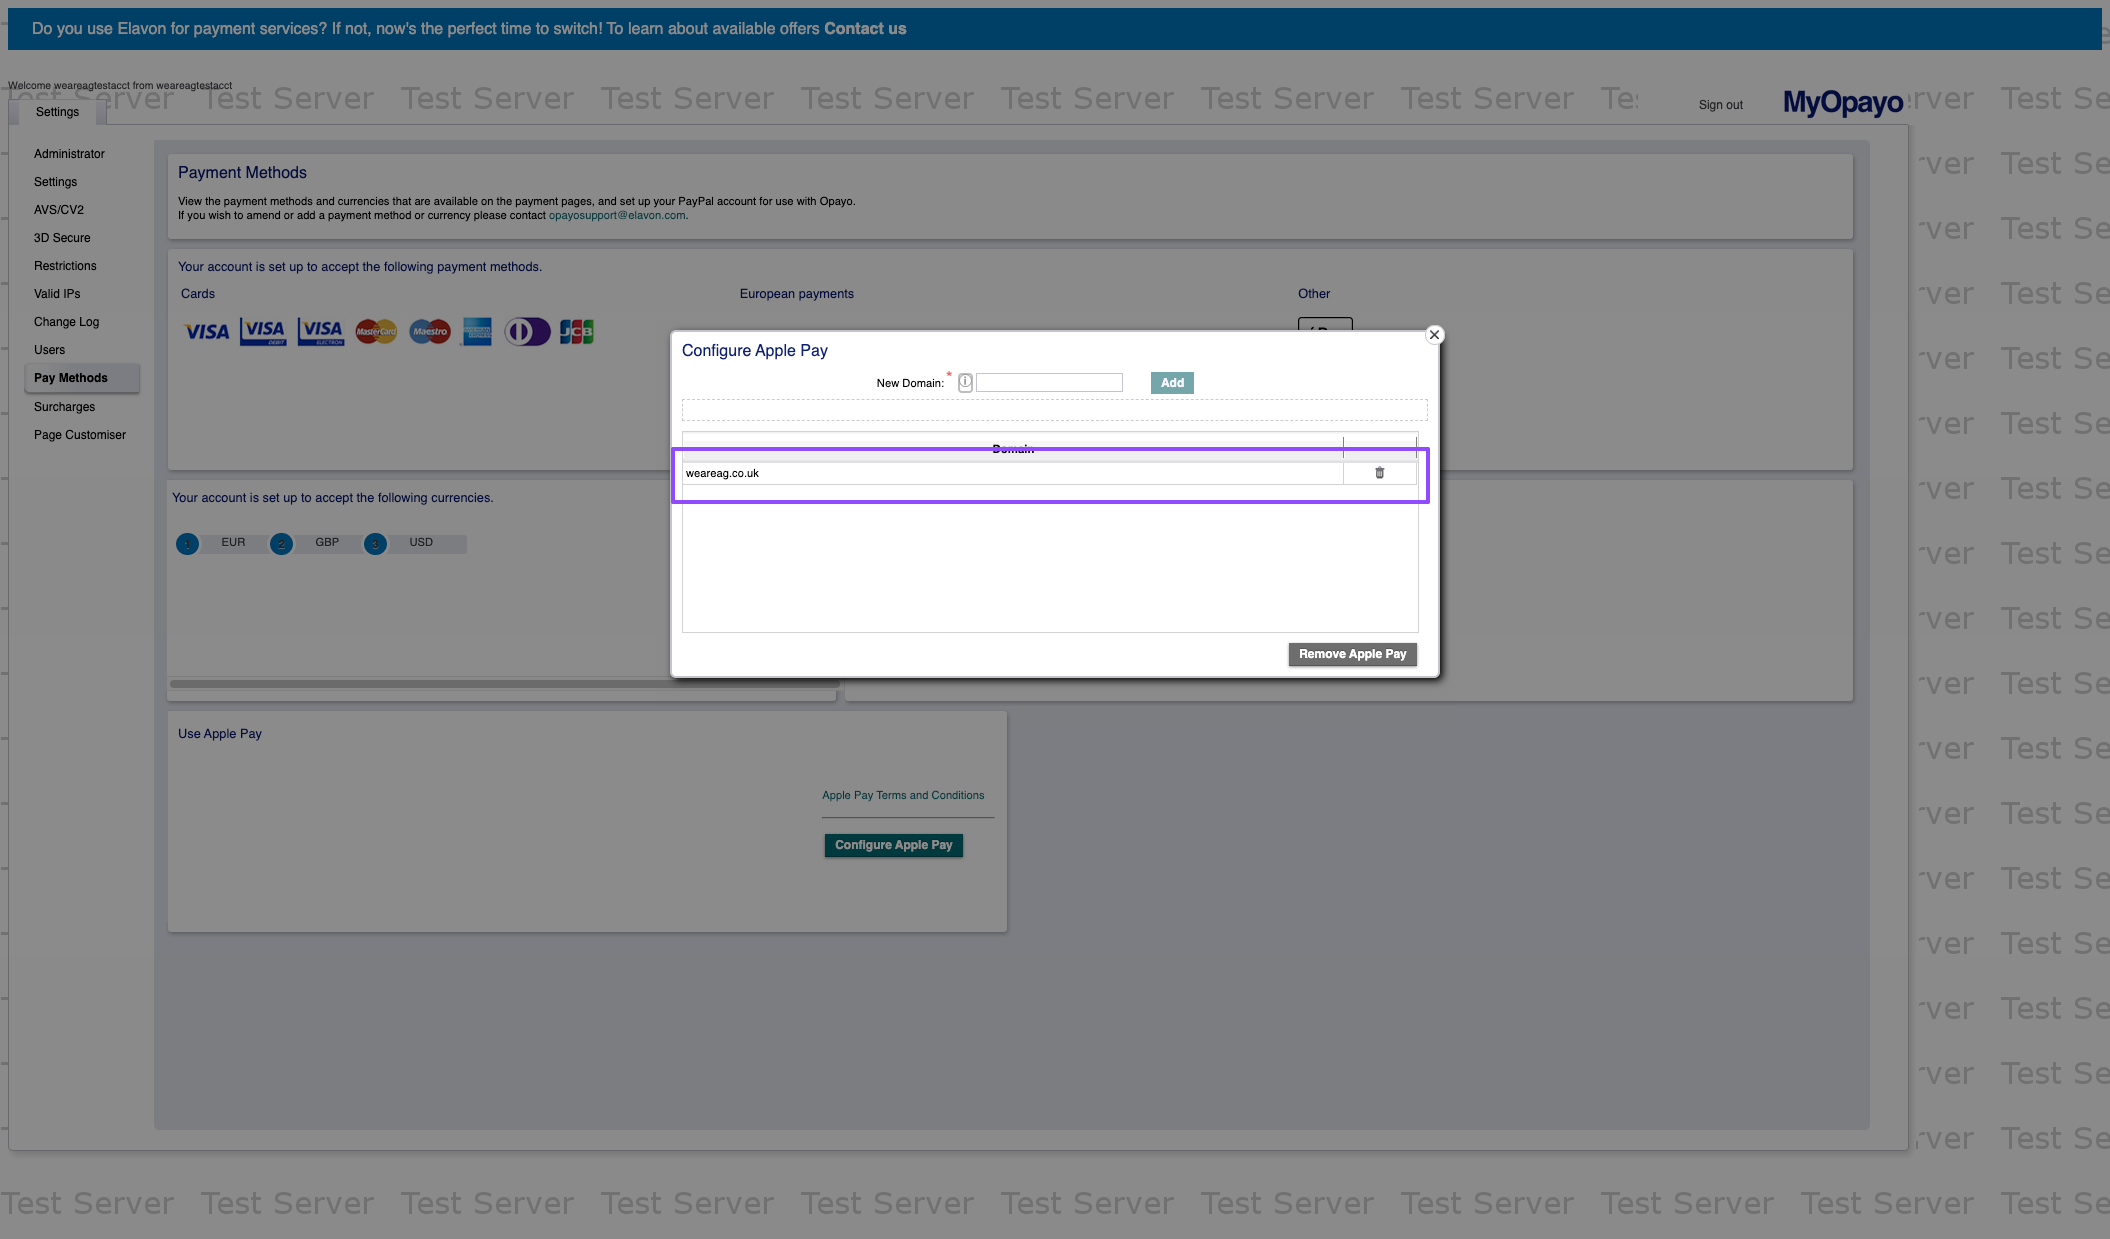
Step 6 – Add Your Website Domain
- In the popup, enter your live store’s domain (e.g., yourstore.com).
Do not include paths, only the domain.
- Click Add.
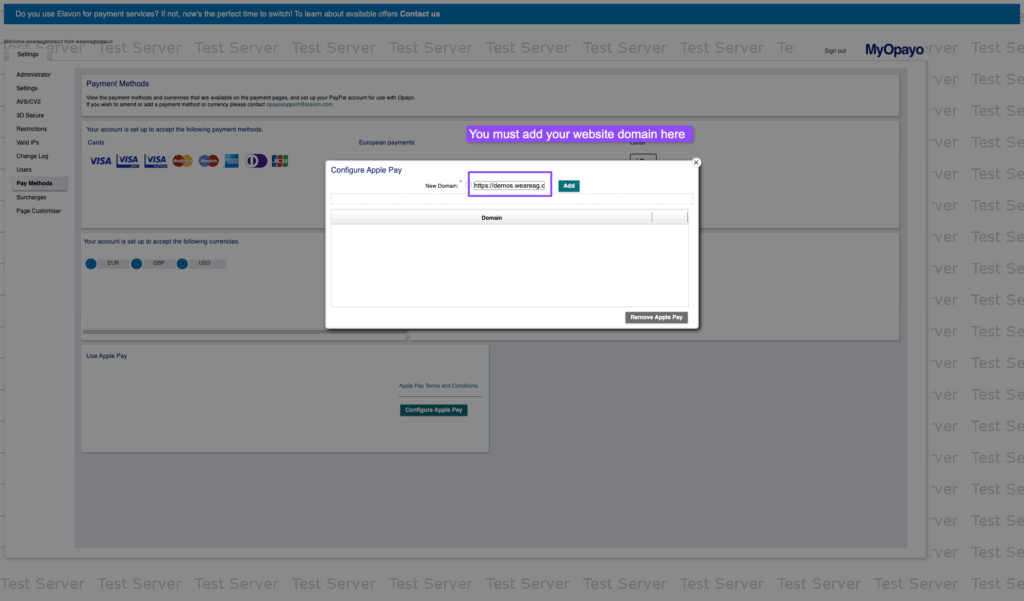
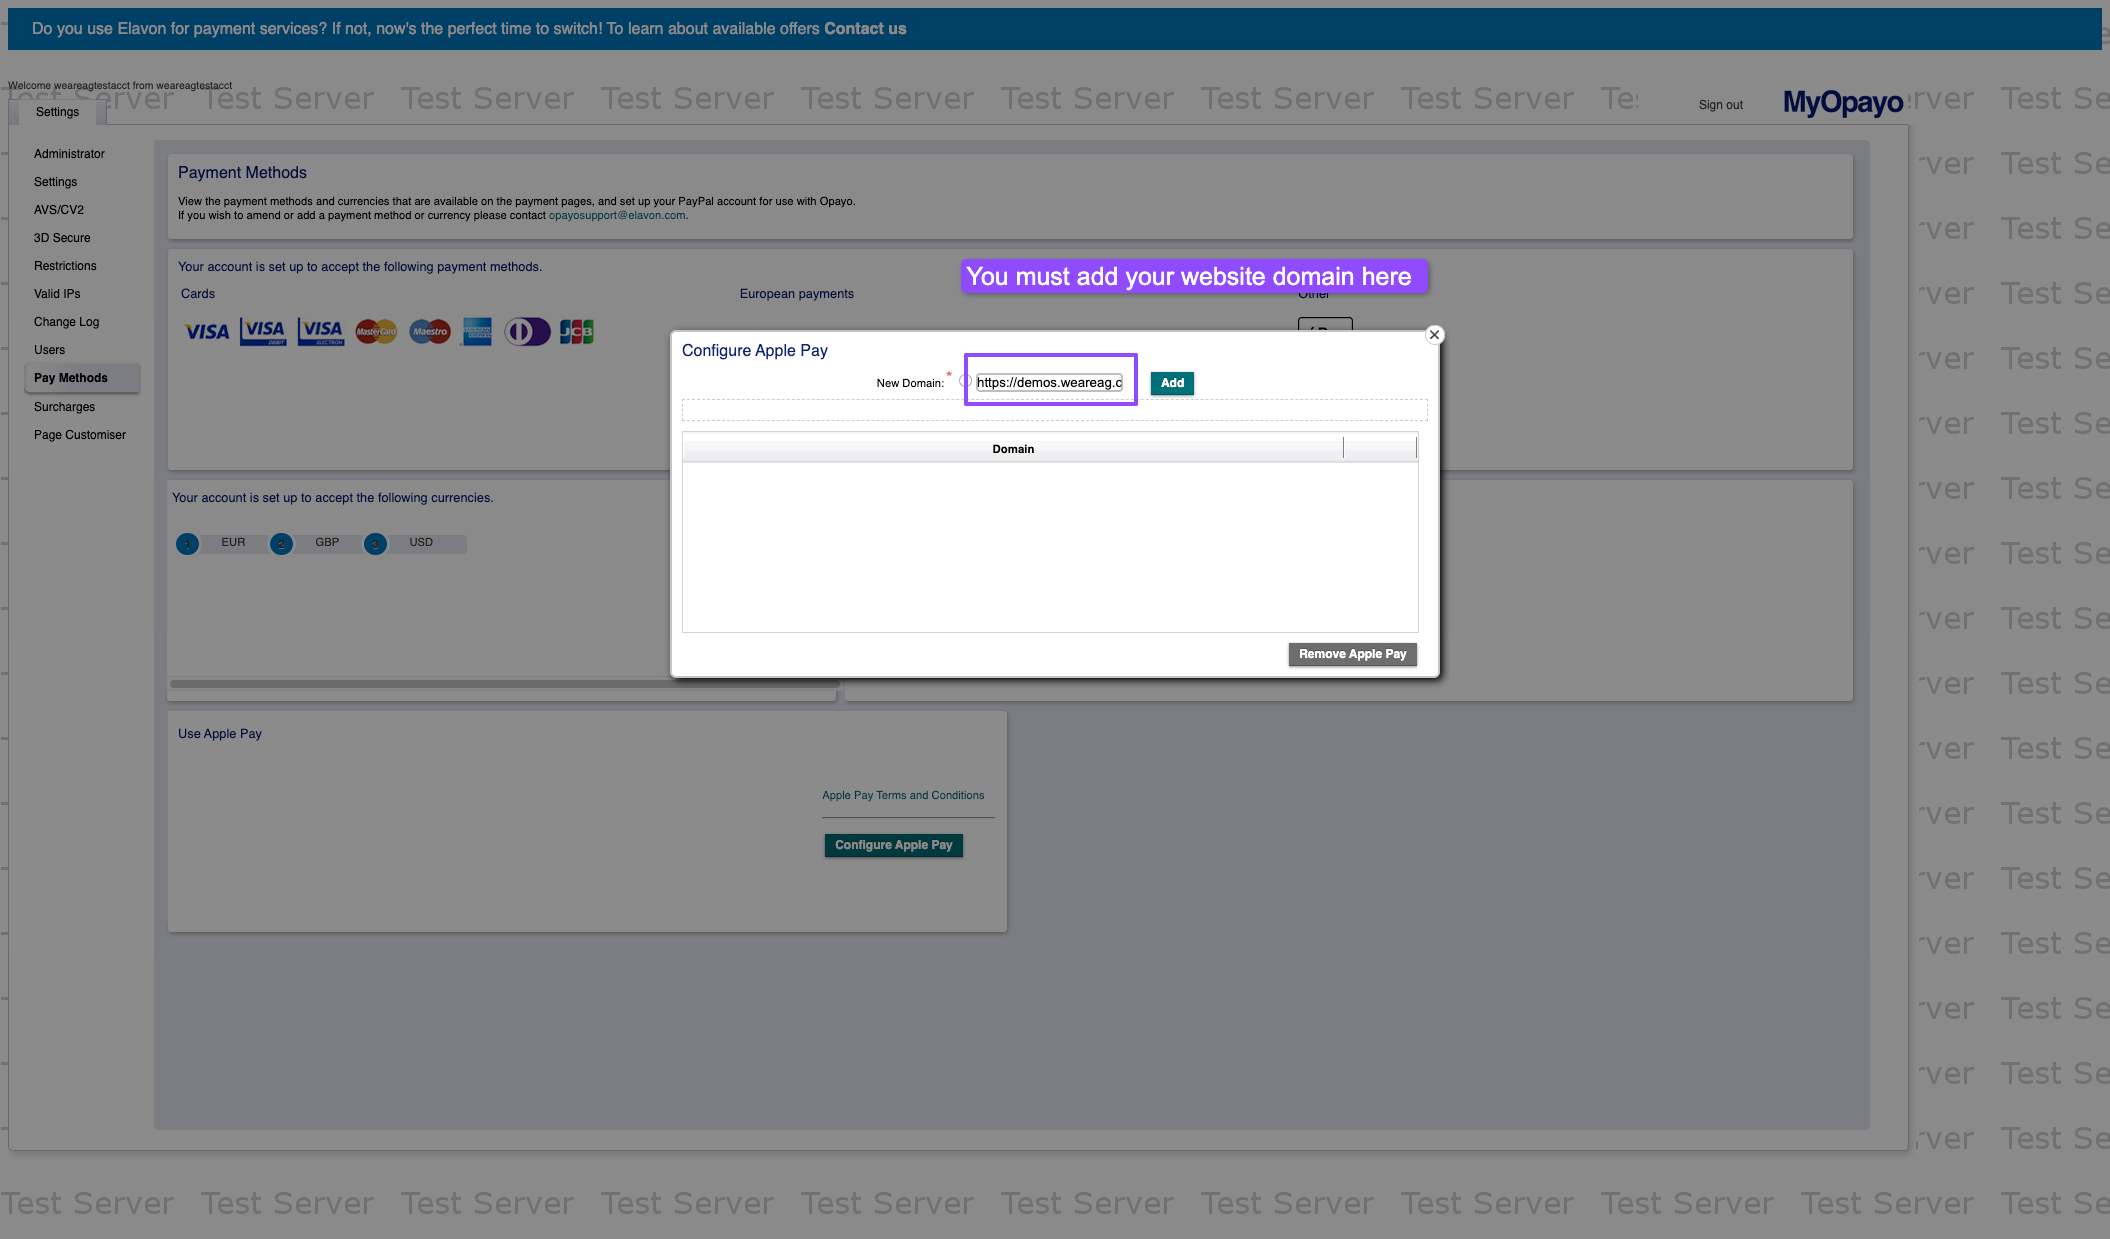
Your domain should now appear in the list.
Step 7 – Verify Apple Pay Is Active
Once your domain is added and certificates are set up, Apple Pay will be enabled for your account. You’ll now see the Apple Pay icon listed under Payment Methods
Troubleshooting
- Apple Pay modal shows briefly then disappears
This usually indicates a setup issue, most often caused by the wrong domain being registered or a certificate problem.- Open your browser’s console log (Developer Tools) and check for errors.
- Our plugin adds debugging information to the console to help you pinpoint what went wrong.
Common Console Errors
Here are the most frequent Apple Pay errors you may see:
- Merchant validation failed
Your domain has not been added to MyOpayo or the certificate is not valid. - Domain not registered
The live website domain is missing from the Apple Pay configuration in MyOpayo. - Apple Pay is not available on this device/browser
Testing in a browser or device that does not support Apple Pay (e.g., Windows PC or Chrome on non-Apple hardware). - Session validation failed
The session request to Apple could not be validated. This is typically due to a missing or expired certificate.
That’s it!
You’ve successfully enabled Apple Pay in Opayo (Pi). Your WooCommerce website can now use Apple Pay for checkout.
Was this helpful?

Opayo
Still need help?
Our team are on hand to provide fast, helpful and professional support.
Back End Demo
Start exploring our fully functional demo site today.
Gain exclusive admin access to see what's possible.