Setting up Multiple Ingenico accounts for multi-currency
It is possible to use multiple Ingenico accounts on our plugin so that you can implement multi-currency for your WooCommerce store. Here are the steps to do it:
Step 1 – Requirements
Make sure that you have followed the setup guide first using your primary (Euro) Ingenico account.
Note: Kindly perform successful test transactions on your test Ingenico account first so that the Ingenico team can see that the transactions are going through and that you are good to go for your live Ingenico account. You can see this tutorial on steps for going live.
Step 2 – Adding the custom code.
Before proceeding, please create a backup of your site, as you will be editing your theme files as a preventive measure if you have accidentally deleted any code. You can ask your hosting provider to backup your site for you.
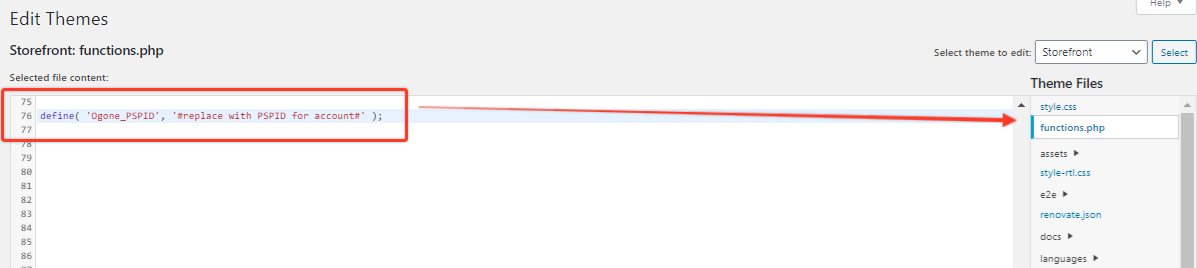
You would need to use the code below and replace the required credentials for your secondary test Ingenico account below:
define( ‘Ogone_PSPID’, ‘#replace with PSPID for account#’ );
Once you have replaced it with the correct information, copy and paste the code on your theme’s functions.php file.
You can access the theme’s functions.php file from your:
WordPress dashboard > Appearance > Theme Editor > click the functions.php from the file selection.
After that, kindly click the Update File button for the changes to be applied.
Alternatively, you can also use a third-party plugin like the Dessky Snippets plugin to add the code instead of manually adding it to your theme’s function.php file.

Step 3 – Configuring the secondary Ingenico account.
Run through the setup guide again, only for this time you would do it on your secondary Ingenico account.
Note: Ensure that the SHA-IN and SHA-OUT that you have used on the primary Ingenico account are also the same on the secondary Ingenico account.
Step 4 – Make successful test transactions.
Create a test product and see if the test transactions made would be successful. After multiple attempts, you are now ready to configure your live accounts.
Step 5 – Going Live
You would need to do what you did on your test Ingenico accounts and transfer it manually on your live Ingenico accounts. To ensure that everything goes well, run through the setup guide again to avoid any issues with the configuration.
Make a few rounds of live transactions before going public, as you will now be dealing with real money.
Congratulations! You have now set up a multi-currency on your WooCommerce Store.
What if there is an error?
That’s a bit unfortunate, but all problems in this world can eventually be fixed. Please do take a look at our Troubleshooting Guide, and hopefully, this would resolve the issue for you; you could also contact our support, and one of our friendly support team members will sort out these issues for you.
Was this helpful?
Ingenico ePayments Ogone Direct Link
Still need help?
Our team are on hand to provide fast, helpful and professional support.