WooCommerce Subscriptions Installation, Sample Product, and Setup
What is WooCommerce Subscriptions?
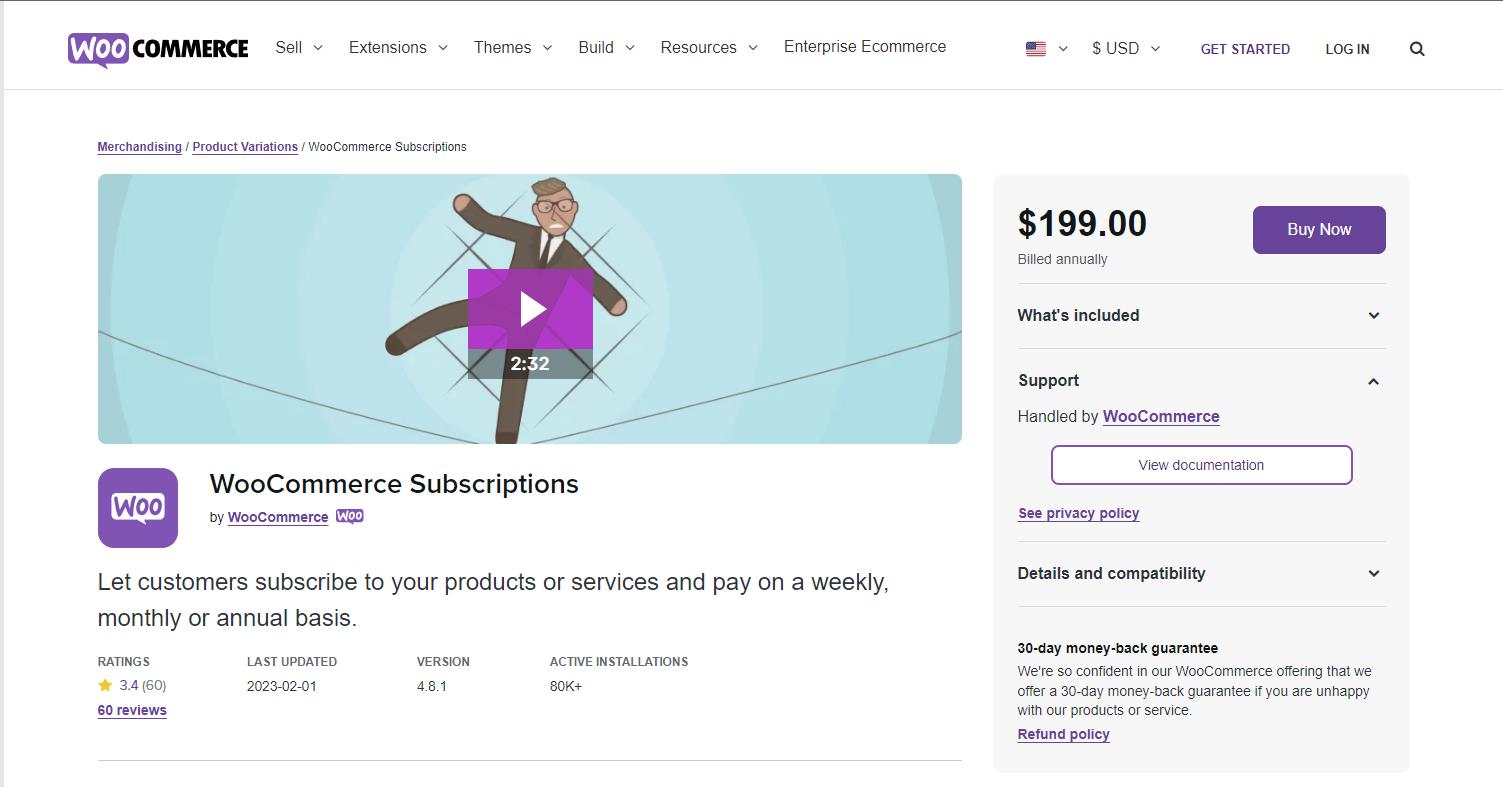
WooCommerce Subscriptions is a premium WooCommerce extension that allows you to sell products and services with recurring payments. With the new update of Ingenico Ogone Payment Gateway for WooCommerce, the team added support for it, as it is one of the most awaited, and requested integration – The subscription/recurring payments support!
This guide aims to help those who are new to WooCommerce Subscriptions, in terms of where to purchase and download it, and how you can create a subscription product.
Download & Installation
You can purchase, and download WooCommerce Subscription from the WooCommerce site – https://woocommerce.com/products/woocommerce-subscriptions/
After purchasing, and downloading the plugin, proceed in uploading, and activate the plugin on your WordPress site.
Setting up a Subscription Product
To create a subscription product:
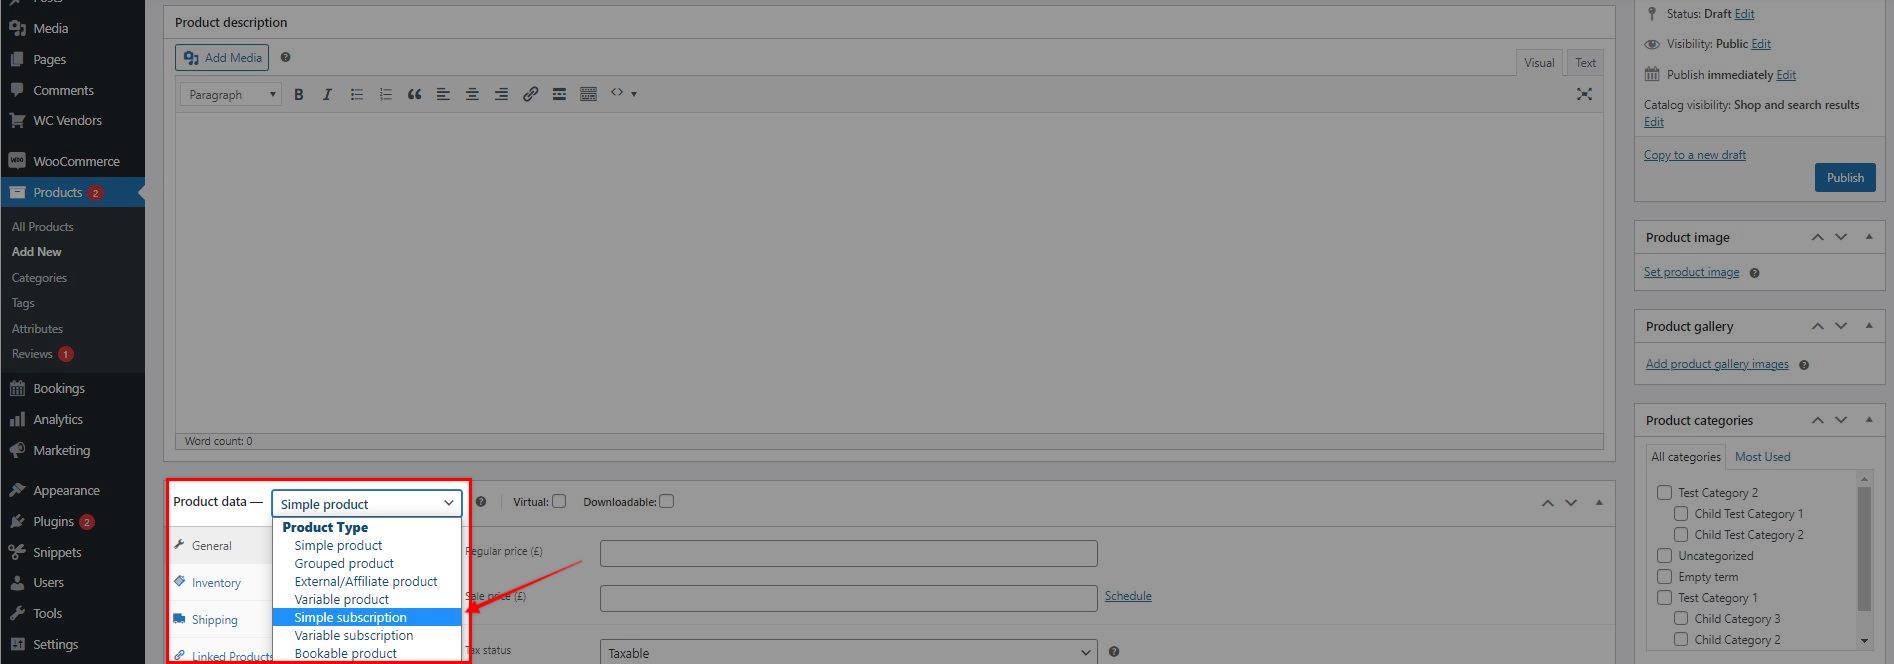
1.) Log in to your WordPress dashboard. Go to Products > Add new
2.) Select Simple Subscription as the product type.
3.) Set the terms for the subscription, including price, billing interval, billing period, length, sign-up fee, and trial period (length, sign-up fee and trial period are all optional).
4.) Add any other product details you require, as instructed by Managing Products.
5.) Click Publish.
Done! Your store now has a subscription product available that customers can subscribe to using Ingenico Ogone Payment Gateway for WooCommerce. As always, do a test purchase before making a live product on your stores.
Setting up Ingenico Ogone Payment Gateway for subscription payments
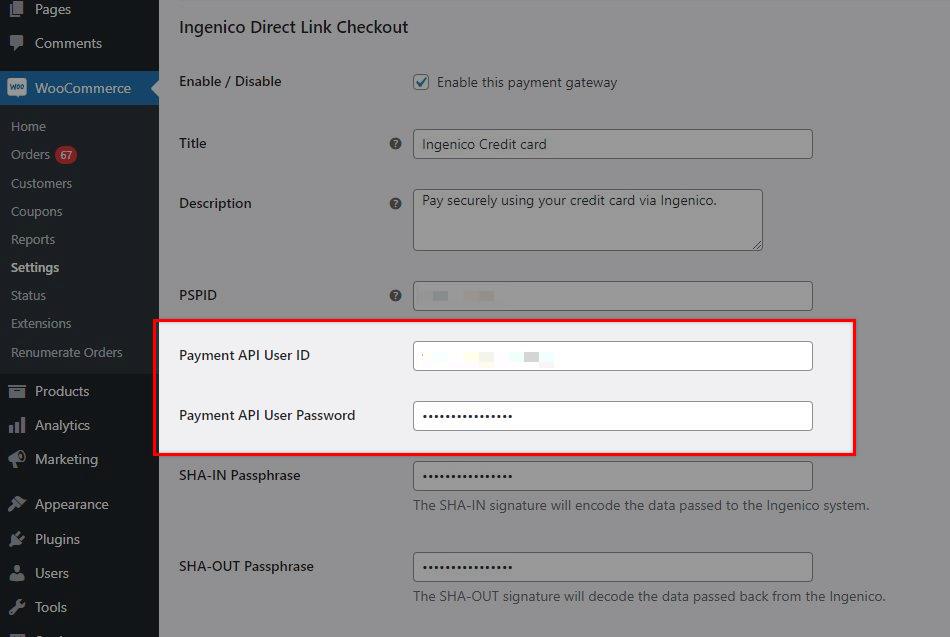
Reminder, you will need to create the API user, which the plugin will use to make API payment calls to the Ingenico system. You will need to go to Configuration > Users.
Once you generated the details, you can now follow the steps below to set it up for the plugin:
1.) Go to your WordPress dashboard, in WooCommerce >> Settings >> Payment, and click on the “Manage” button for AG Ingenico Checkout Settings.
2.) Add the keys to their respective fields.
3.) Then click “Save changes”.
Was this helpful?


Ingenico Ogone ePayments
Still need help?
Our team are on hand to provide fast, helpful and professional support.


