If you’ve been running your WooCommerce store for a while, or you’re just setting one up, you might be wondering if it’s worth using a WooCommerce translation plugin.
After all, you know by setting one up, you’ll be able to reach a larger audience and make more sales, right?
But how do you go about using a translation plugin and how do you make it play nice with your payment methods? Well in this article, we’re going to be sharing exactly that.
Here at We are AG, we’ve built some payment plugins for the EU market (such as Postfinance, Viveum, and Ingenico). These plugins are translation-ready and can be integrated with your WooCommerce website!
So, in this article, we’ll show you how to set up a WooCommerce translation plugin and how to get it working nicely with one of our payment plugins here at We are AG.
But first, let’s answer a very important question…
Why bother using a translation plugin for Woocommerce?
When you use a translation plugin for your WooCommerce store, the most obvious benefit is it allows your store to run in several different languages. This on its own connects you to a much broader audience than you’d usually be used to.
A translation plugin will update everything from your product names, descriptions, store emails, site SEO and more.
But this isn’t the only benefit of using a translation plugin, so let’s delve a little deeper.
The benefits of using a translation plugin in WooCommerce
Curious about the exact benefits of translation plugins? Here’s a handy list!
- You’ll be able to use multiple currencies – Depending on the WooCommerce translation plugin you use and the payment provider, you’ll be able to use multiple different currencies for your store. Plus, you can set different prices for different currencies and customise everything related to secondary currencies. Not bad!
- You can translate your URLs – URLs play a massive role in your overall store and checkout pages. Different parts of the URL can be translated using a WooCommerce plugin meaning every aspect of your customer experience is taken care of.
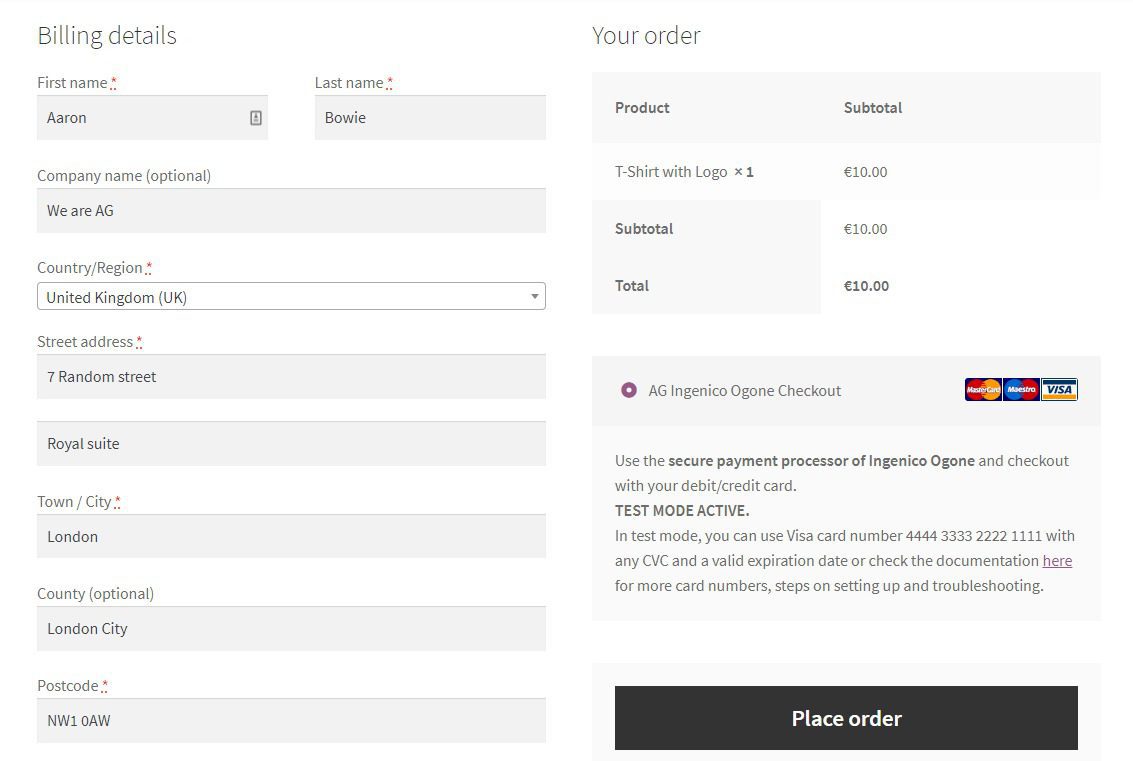
- You’ll be able to translate your checkout pages – Translation plugins change the text buyers see when they reach the checkout page. Imagine a customer reaching your checkout page and the language is different from the one they’re used to – not ideal. Translation plugins make this process a breeze.
So now we know the benefits of using a WooCommerce translation plugin. But how do you get one set up?
It might seem daunting, but we’re here to help. In the section below we’ll walk you through how to use two different WooCommerce translation plugins with our payment plugin Ingenico.
How to use a WooCommerce translation plugin with Ingenico
Okay, so let’s give you a short guideline on integrating the WordPress plugins, WPML, and Loco Translate, with the We are AG plugin Ingenico.
For both of these, we’re presuming you have our Ingenico plugin installed on your site.
If you’d like to get it installed before walking through the tutorial, you can get Ingenico here: weareag.co.ukag-woocommerce-ingenico-ogone-gateway
An extra bonus: if you’re interested in other We are AG plugins, the integration process is the same for all of them!
Option 1: Translate using the plugin WPML
WPML is a WooCommerce multilingual plugin that can translate posts, pages, taxonomies, custom types, menus, theme text and more. It’s also fast, reliable, and secure – so you’ll love it.
Here’s how to integrate WPML with our Ingenico plugin:
Step 1: Install WPML
Firstly, you’ll need to purchase the WPML plugin. WPML themselves have put together a purchase guide that you can follow here.
Once you’ve purchased the main WPML plugin, you’ll then have the option to download the WooCommerce Multilingual plugin. This way, you can translate your product categories and checkout pages.
Install both of these on your WordPress site and once done, we can move onto step 2.
Step 2: Translate your checkout pages
Because our plugin Ingenico is a payment plugin, we’ll focus on translating the checkout pages. But WPML of course works to translate your whole site, so use this as a basis.
When adding specific language translations to your checkout and cart pages, each translation comes with its own page URL. So to make sure you have these correct, take the following steps:
- From your WordPress dashboard, go to Pages > All Pages.
- Then find the checkout page. The title of this page will likely look something like this ‘Checkout — Checkout Page’.
- Once found, you should be able to hover over the page and see a plus symbol appear. Click on this to add your page translation.

Step 3: Pick the correct language URL format
Next, we need to make sure your cart and checkout URLs have the correct format. To make sure this is set up correctly, take the following steps:
- From your WPML dashboard, go to > Languages > Language URL format.
- Click the language URL format and select Different languages in directories. Selecting this option will format your URL like this: yourdomain.com/language/page-name.
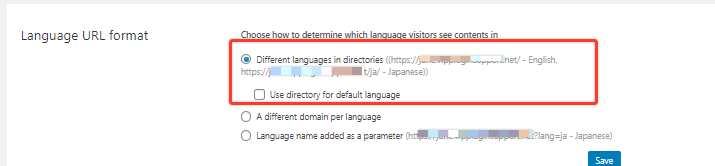
For Japanese users, the page will be yourdomain.com/ja/page-name. So ‘ja’ will mean Japanese.
Step 4: Make sure you have the correct URL
To make sure these translated checkout pages work, you’ll have to add your domain from your Ingenico back-office account.
To do this, take the following steps:
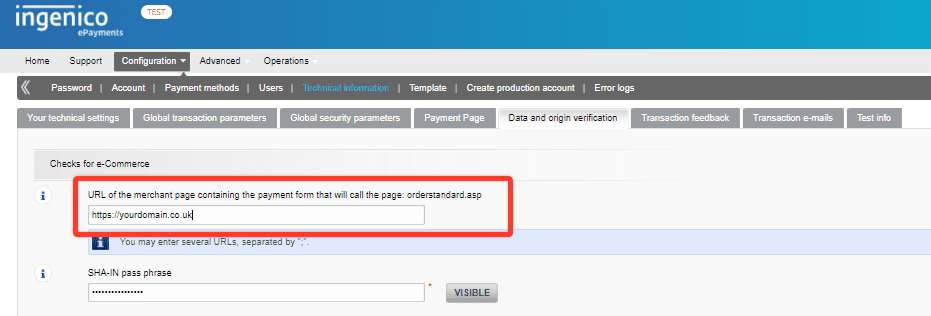
- In your Ingenico back-office account, go to Configuration > Data & origin verification > Checks for e-Commerce.
- In the first field in this section, paste the URL of your store.
Congrats! Now your store can process transactions in different languages!
If you have any trouble setting this up with our plugin Ingenico, check our troubleshooting docs to see if the solution can be found there. If not, contact support for help.
Option 2: Translate using the plugin Loco Translate
Loco Translate is a great plugin that provides in-browser editing of your pages and integration with other translation APIs such as Google, Microsoft, and Yandex.
With the help of Loco translate, you can update and create language files directly in plugins. It’s a cheaper alternative to WPML but it does require some developer experience.
If you have this experience though, Loco Translate is a great option that requires less steps!
Here’s (in brief) how you can use Loco Translate
Firstly, we’re presuming you already have a theme installed on your site. With Loco translate, you‘ll have to set the site language manually.
So to do this, take the following steps:
- From your WordPress dashboard, go to Settings > General. Here you’ll see a dropdown list called Site Language.
- Select the language from the list you want to set up. Click Save and WordPress should have downloaded the language pack for your selected language.
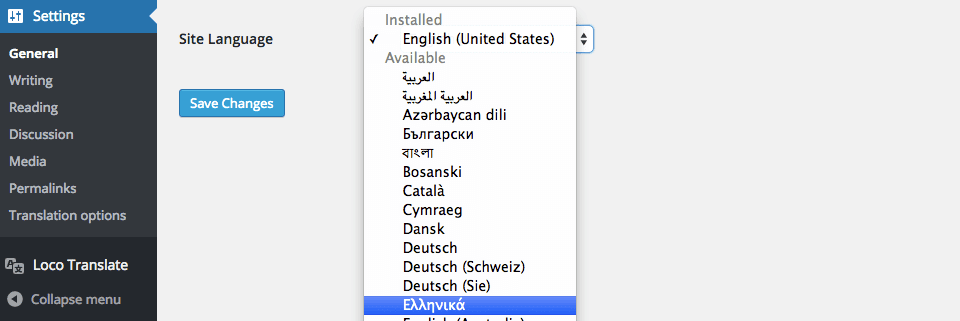
- Once done, you can change your site’s language back to what it was before and click Save.
- Next, you’ll need to set up some folders on your site. Make sure you have the following (writeable) folder: wp-content/languages/loco/themes. A folder called ‘languages’ will already exist if automatic updates of WordPress are enabled on your site. There’s a ‘loco’ subfolder that protects your files from being updated.
- Go to the themes folder and check for a pot file in the ‘languages’ subfolder. This pot file is a translation template for your theme.
- You’ll receive a warning if your theme doesn’t have a pot file. Just make sure it exists in your themes folder.
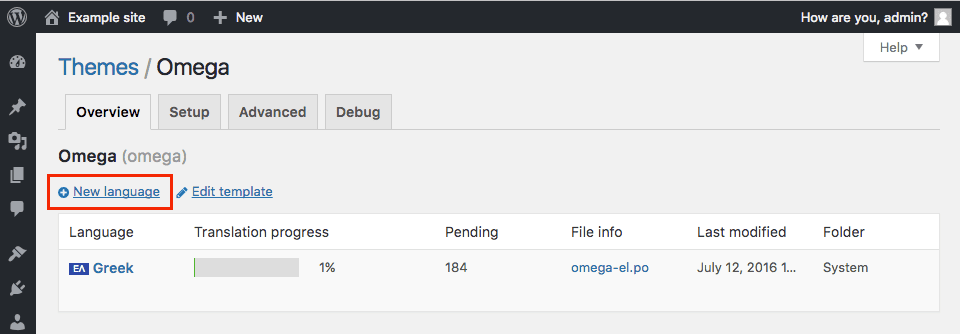
- Next, go to Loco Translate > Themes and make sure the Overview tab is selected at the top of the page.
- You can now add new languages to your theme by clicking the New language button.
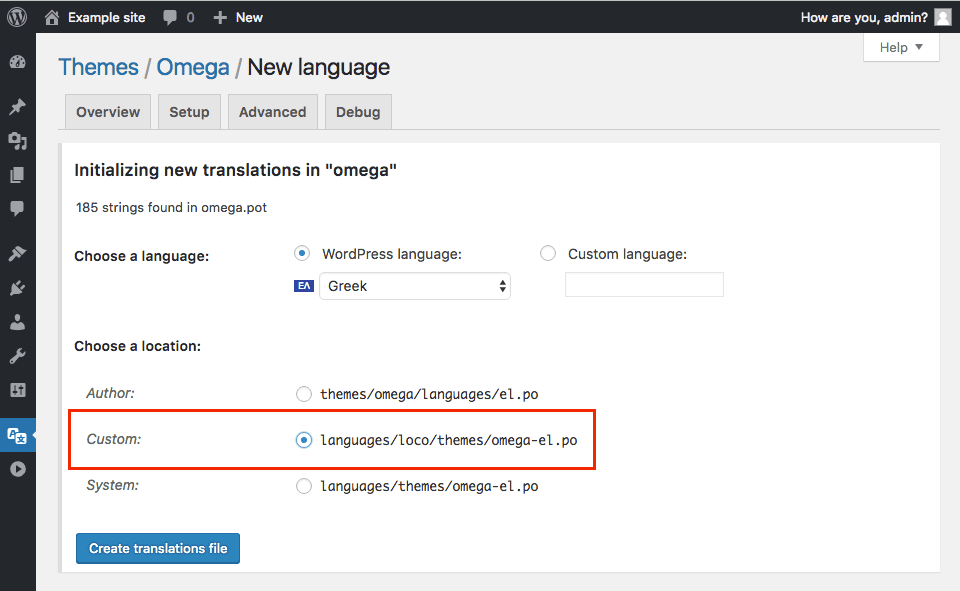
- After clicking, you’ll be taken to another screen where you can choose a new language. Select the language you picked in step 2.
- After selecting a language, make sure you’ve checked the Custom file location and then click the Start translating or Create translations file button.
- Translating the strings (text) may seem daunting, but is pretty straightforward. All you have to do is select the text you want to translate from the Source text at the top and translate it below.
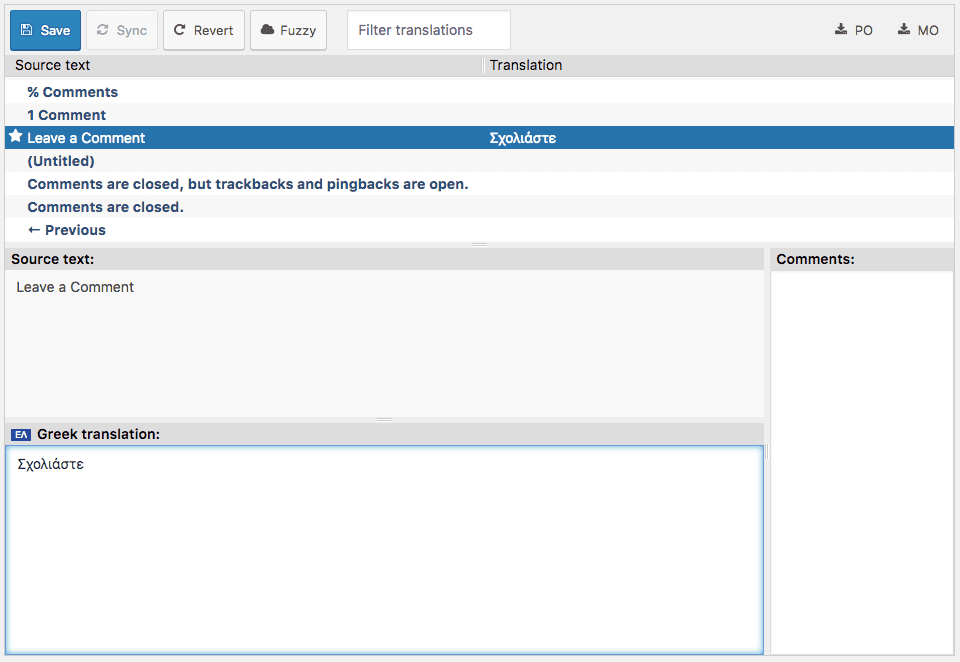
- Once you’re happy with all your translations, click the blue Save button at the top.
Viewing your translated pages
After saving your translation, you can find your translated pages in your themes folder in the form of PO and MO formats. One for humans and the other for WordPress. To view your page, you can just click the PO file to see if it works.
For more information on using Loco Translate for your WooCommerce store, see Loco Translate’s step-by-step guides.
Congrats, you’ve translated your store
Phew, and we’re done! Your store can now be translated into as many languages as you like.
We are AG plugins when integrated with WooCommerce translation plugins, will provide you with a seamless experience with receiving payments and reduce the amount of work you have to do on the back-end.
Make sure to check out both WPML and Loco Translate to figure out which translation plugin suits you.
Plus, check out our payment plugins for the EU market (Postfinance, Viveum, and Ingenico). They’re translation-friendly and ready to go!