Setup – ANZ Worldline
Welcome! We’re excited to help you get your ANZ Worldline plugin up and running. The setup should only take about 30 minutes, and this guide will walk you through everything step by step. Remember, it’s always best to start in test mode to make sure everything works perfectly before going live.
If you need any help along the way, we’re just an email away and happy to assist!
Before You Start
Make sure you have the following ready:
- An active ANZ Worldline merchant account. If you don’t have one yet, you can contact ANZ Worldline to set it up.
- Access to your WordPress Dashboard.
Step 1 – Installing the Plugin
First, install the plugin and activate your license key. Then, head over to the plugin’s settings page by navigating to:
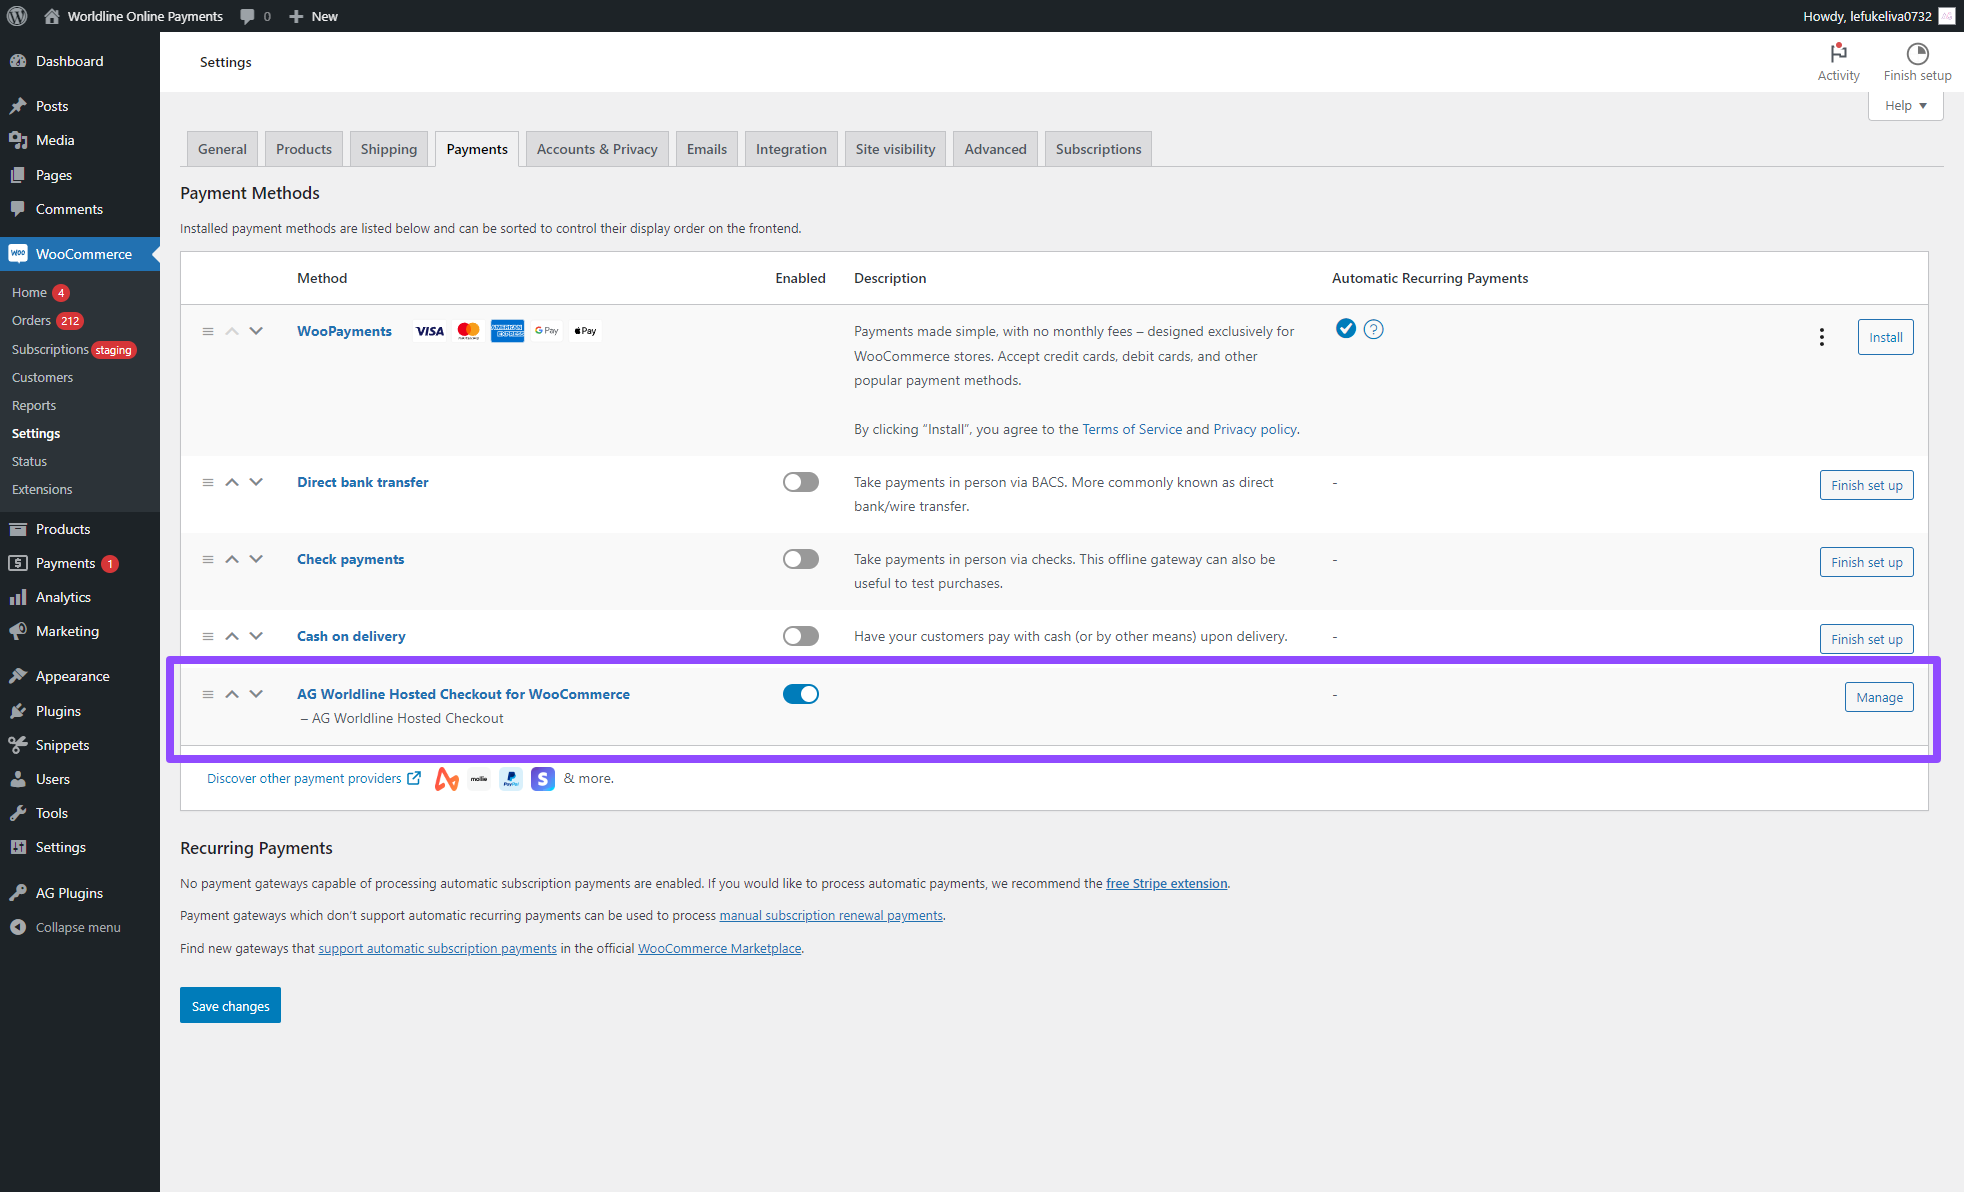
In the settings, you’ll need to enter the PSPID/Merchant ID, your API Key, and API Secret. Additionally, set the URLs.

Step 2 – Logging into the ANZ Worldline Back Office
Log in to your ANZ Worldline test account by clicking here.

Step 3 – Generating API Key and Secret
In your ANZ Worldline back office, navigate to Developer > Payment API. Generate your API Key and API Secret. Once you have them, head back to your WooCommerce settings, paste the keys into their respective fields, and save your changes.
Step 4 – Setting Up Webhooks
In the ANZ Worldline back office, go to Developer > Webhooks and click Generate Webhook Keys. Copy the Webhook Key and Webhook Secret, and then enter these, along with the Webhook URL provided in the WooCommerce plugin settings, into the settings page.
Step 5 – Setting Up Payment Options
In your ANZ Worldline back office, navigate to Business > Payment Methods. Here, you’ll find all the available payment options for your account. Some payment methods may require a quick chat with your ANZ Worldline account manager to get activated, while others can be set up simply by filling in a few details and turning them on.
Step 6 – Time to Test!
You’re almost done! Before going live, it’s important to test your setup. Start by enabling the Debug Log in the plugin settings. This will help catch any issues during testing.
Next, run a few test transactions. If something isn’t working right, check the logs under:
There’s also a Test Connection button in the plugin settings that allows you to quickly verify your API details.
Need a Hand?
If you get stuck or have any questions, don’t worry—we’re here to help! Send us an email, and we’ll be happy to assist. Please include:
- Screenshots of your plugin and ANZ Worldline settings.
- The debug log if you’re seeing any issues (found under WooCommerce > Status > Logs).
We’re always here if you need us, so feel free to reach out!
Was this helpful?

Worldline Hosted Checkout
Still need help?
Our team are on hand to provide fast, helpful and professional support.
Back End Demo
Start exploring our fully functional demo site today.
Gain exclusive admin access to see what's possible.