Process refunds
Prepare your WooCommerce store for success with this dual-focused guide on configuring Cybersource API details and efficiently processing refunds.
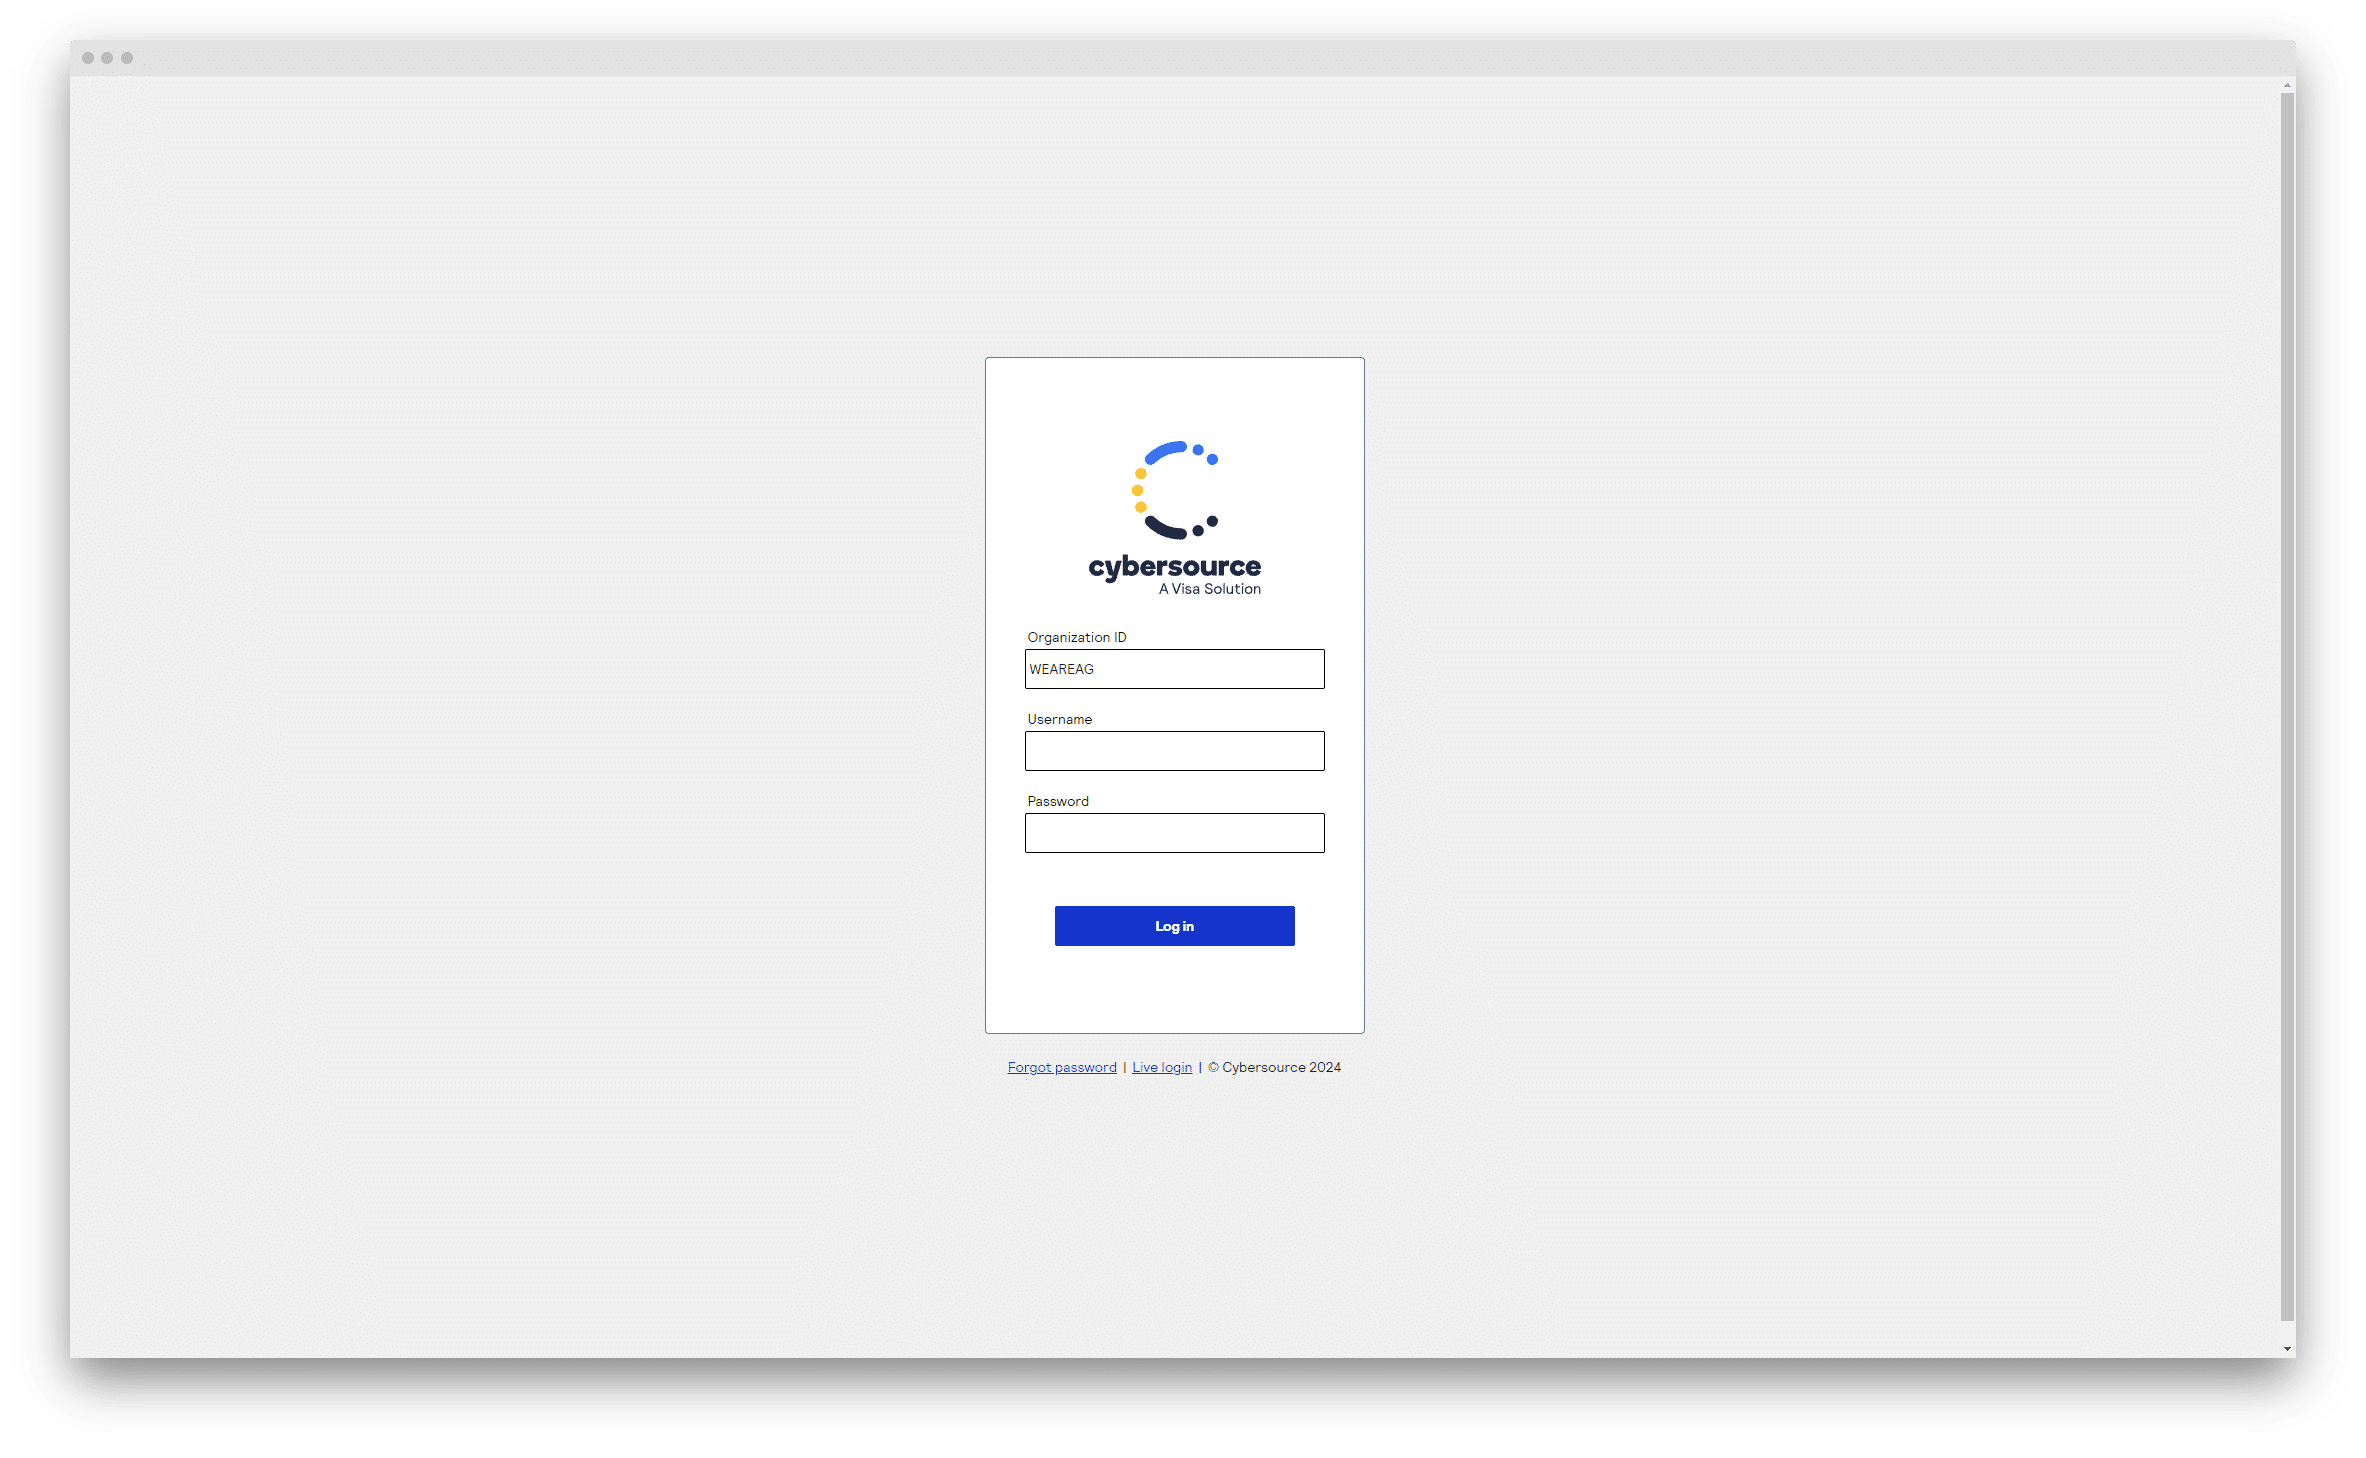
Step 1: Log in to Your test Cybersource portal
Getting started with Cybersource’s hosted payment solution is a breeze, and it all begins with accessing your Cybersource account. This is a critical first step, as you’ll need to retrieve your unique API details from the dashboard.
Here’s how to log in:
- Login to your account. Click on this link or enter the following URL into your browser: https://ebc2test.cybersource.com/ebc2/
- Enter your credentials. Use the username and password you established when you first set up your sandbox account.
Step 2: Creating your API details
Follow these steps within your Cybersource portal:
- Access the Dashboard: Log in to your Cybersource portal. Look for the ‘Security keys’ widget or section on the dashboard.
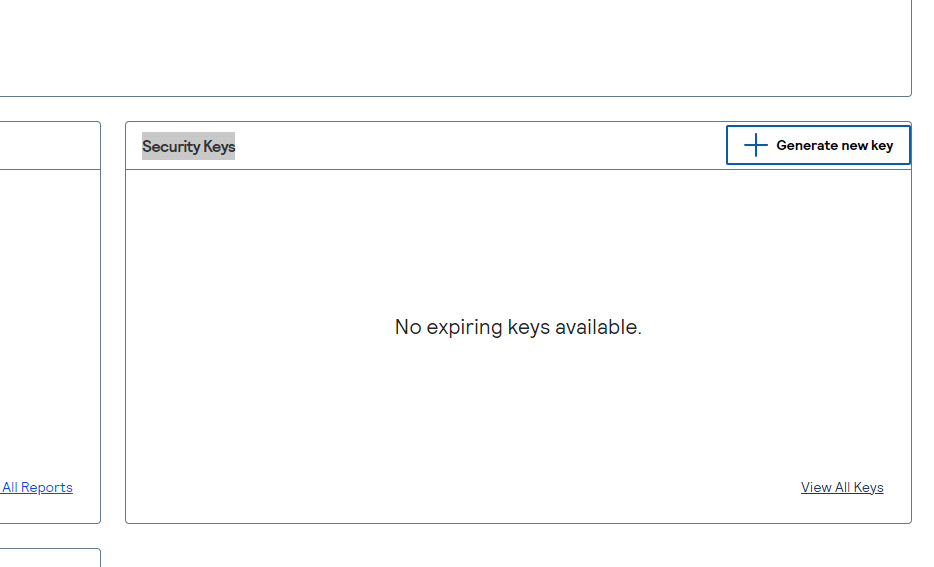
- Generate New Key: Within the ‘Security keys’ area, click on the ‘Generate new key’ button. This action will take you to the ‘Create key’ page.
- Select Key Type: On the ‘Create key’ page, you will see several options for the type of key you can create. Choose the ‘REST – Shared secret’ option from the available list to ensure compatibility with the WooCommerce plugin for refund processing.

- Generate Key: After selecting the ‘REST – Shared secret’ option, click the ‘Generate key’ button. The system will then create your API key and Shared Secret.
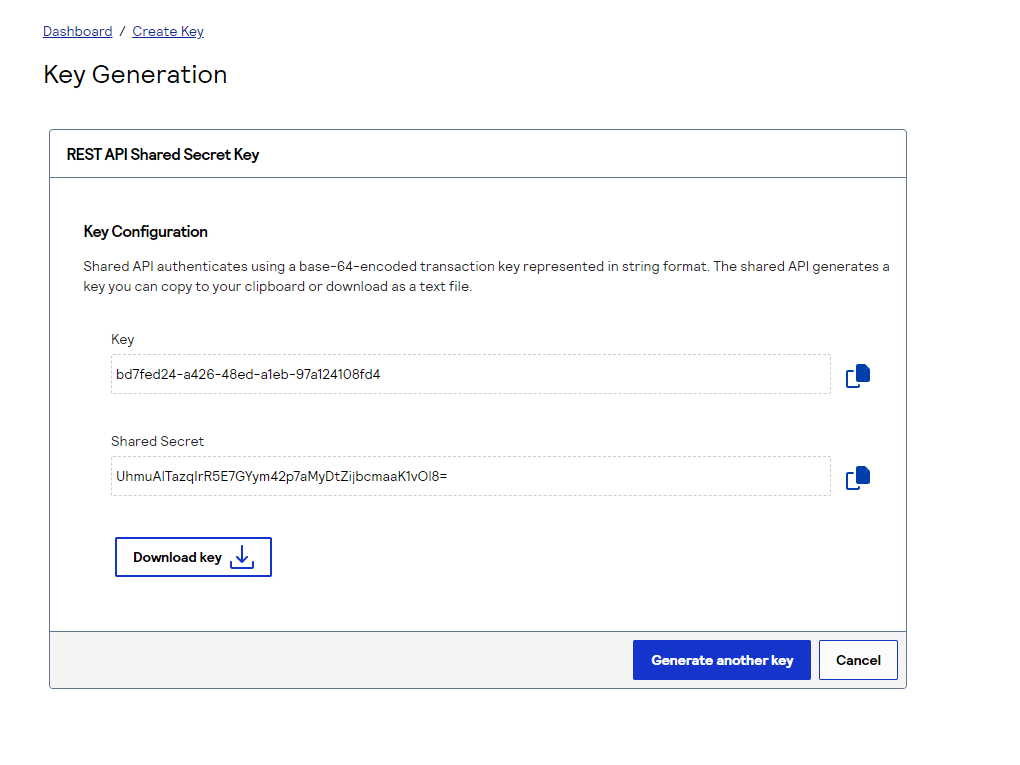
- Record Your Details: It’s crucial to securely record the API key and Shared Secret immediately, as you will need these details to configure the Cybersource plugin in WooCommerce.
These API details are essential for the plugin to communicate with Cybersource’s services, enabling you to process refunds directly from your WooCommerce dashboard. Ensure the security of your Shared Secret, as it plays a critical role in safeguarding your transactions.
Step 2 – Enter Your API Keys into the Cybersource Plugin
Integrating your API keys into your WooCommerce store is a crucial step that links your online WooCommerce to the Cybersource refund system.
Follow these steps to complete the integration:
Access Your WooCommerce Settings
- Navigate to Settings: From your WordPress dashboard, go to WooCommerce and click on ‘Settings’.
- Payment Methods: Select the ‘Payments’ tab to view the list of available payment methods for your store.
Configure Cybersource Hosted Checkout
- Locate Cybersource Hosted Checkout: Scroll through the list of payment options to find Cybersource Hosted Checkout and select the ‘Manage’ button.
- Gateway Settings: This action will direct you to the Cybersource Checkout payment gateway settings specific to your store.
Input Your API Keys
- Open REST API Tab: Within the Fuse Checkout settings, find and click on the REST API tab.
- Enter API Keys and Merchant ID: Carefully input your API keys and Merchant ID as displayed in your Cybersource account. Accuracy is key here to prevent any operational disruptions.
- Check for Typos: Ensure all details are entered correctly, double-checking to avoid any mistakes that could affect functionality.
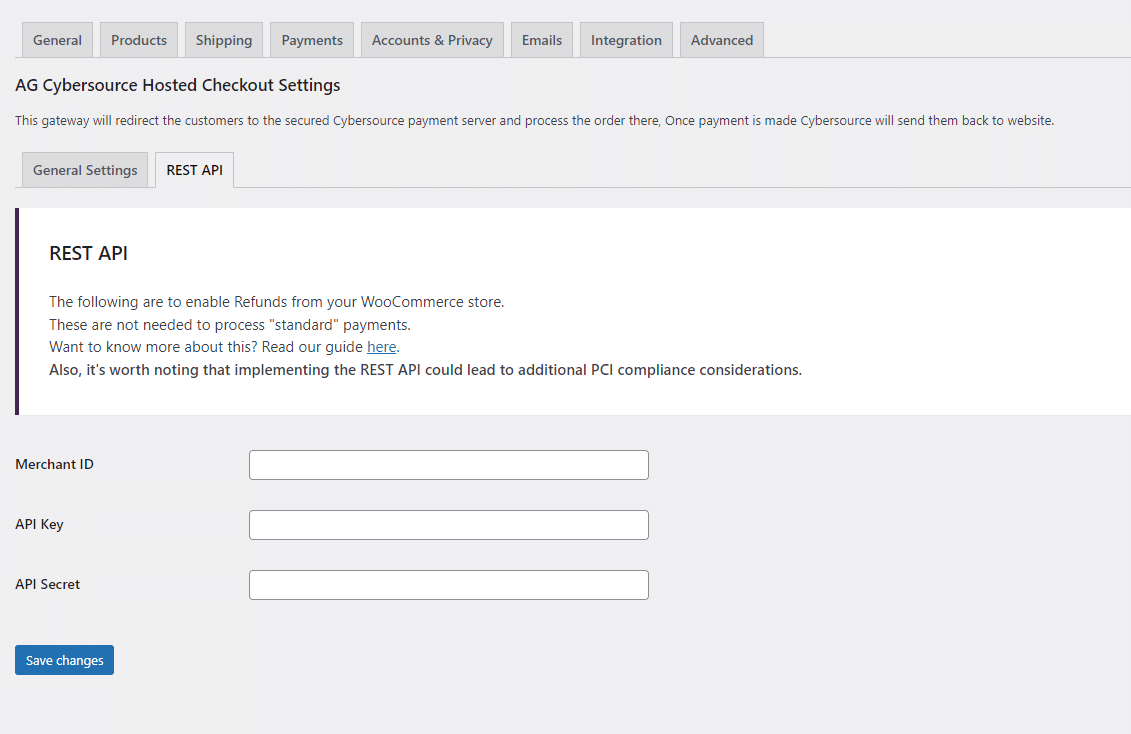
Save Your Changes
- Finalise Integration: Once all necessary information is entered, scroll down and click ‘Save changes’. This action confirms the connection of your WooCommerce store with Cybersource’s refund system, completing the setup process.
Step 3 – Processing Refunds via WooCommerce with Cybersource
Handling refunds directly from your WooCommerce dashboard is straightforward. This capability allows you to manage customer transactions efficiently, ensuring a positive shopping experience. Here’s how to process a refund:
Navigate to the Order
- Access WooCommerce Orders: From your WordPress dashboard, go to WooCommerce > Orders. This page lists all current orders within your store.
- Select the Order: Find the order you wish to refund and click on the order number or the ‘View’ button to open the order details page.
Initiate the Refund Process
- Go to Order Details: Within the order details page, locate the ‘Refund’ button. It’s usually found under the order item(s) list or at the top of the order details.
- Specify Refund Amount: WooCommerce allows for partial or full refunds. You can manually enter the amount you wish to refund in the box next to the item(s) you’re refunding or use the quantity buttons for product refunds. For a full refund, you can click the ‘Refund’ button without specifying an amount, and WooCommerce will calculate the total amount paid for the order.
Confirm and Complete the Refund
- Enter Refund Reason: Although optional, adding a reason for the refund is considered best practice for record-keeping and customer service.
- Process the Refund: Click on ‘Refund via AG Cybersource Hosted Checkout’ to initiate the refund. This action communicates with the Cybersource system to process the refund transaction. Ensure you have the correct API permissions set up in your Cybersource account to allow for refunds.
By following these steps, you can efficiently manage refunds directly within your WooCommerce store, leveraging the Cybersource integration for secure and reliable transactions.
Was this helpful?

Cybersource Hosted Checkout
Still need help?
Our team are on hand to provide fast, helpful and professional support.